The documentation provided a detailed description of the Belt sensor GUI.
Site:
The site can be accessed via the link:
Link: https://belt-sensor.alamedaproject.eu/
By clicking on the above link, the user will route to the login page.
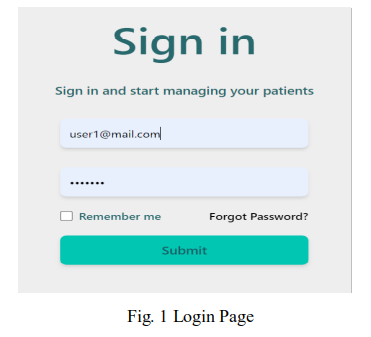
1. LOGIN:
Those Doctor/Clinician/Caregiver/Coordinator who are already enrolled on IAM can login into the site using their username and password as shown in the figure 1.
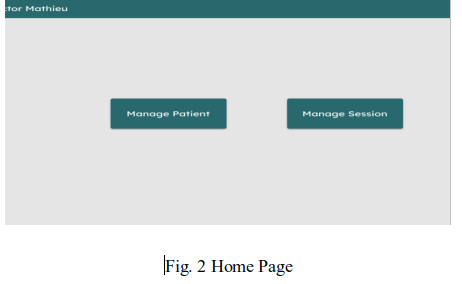
2. Home
After successful login, he/she will be directed to the home page as shown in Fig 2. There are two buttons, Manage Patient and Manage Session. Manage Patient navigates to the page discussed in section 2.1, where Manage Session will lead to a static page. We kept Manage Session for future work, will encompass of data analytics related features.
2.1 Manage Patient
In the manage patient page as shown below, there is one button namely, List of Patients, as shown in figure 3.

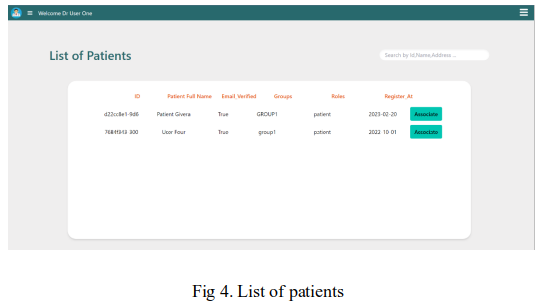
2.2 List of Patients
By clicking “List of Patients” button in Fig. 3, all patients (enrolled on IAM) will be loaded and shown up as in Fig 4. The ‘associate’ button will select the patient, and it will route to the list of Recordings page.
Belt association with Doctors:
The data is fetched based on a sensor assigned to the doctor. This feature helps in maintaining security and reducing the burden on the server consequently, only the specific data is fetched and rendered on the screen. The Admin/super-admin can add sensor from https://iam.alamedaproject.eu/signin where he/she can assign a sensor with the doctors. It can be seen in figure 5.
![]()
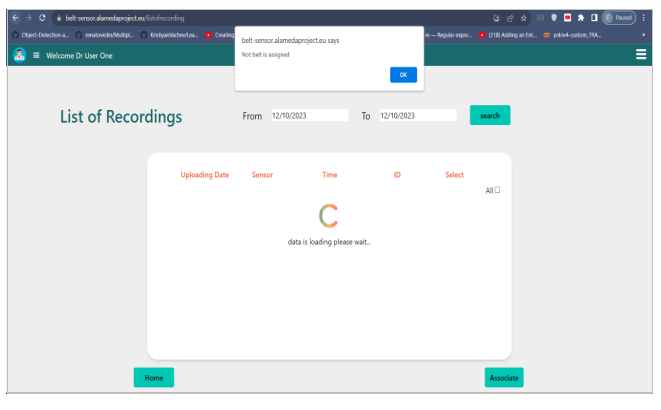
If a doctor with no sensor was assigned then it would return a message shown in fig 6, and no data would be fetched.
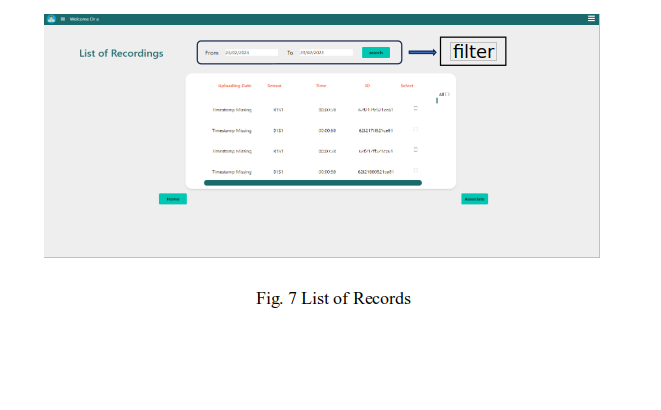
List of Records & Associate Records
When a user clicks on “Associate” button, he will be directed to the list of recordings page (shown in Fig. 7), from the previous page we will use belt sensor ,associate with patient, for fetching data from mongo DB and render in the format as shown in fig 6. The doctor can select the records to associate with the selected patient from the previous page. In addition, the records can be filtered according to the timestamp as depicted in the below figure.
the ‘associate’ button, at the bottom, will route to you the list of patient pages, where enables doctors to add annotation/comments and write remarks regarding the patient's condition as shown in figure 8.
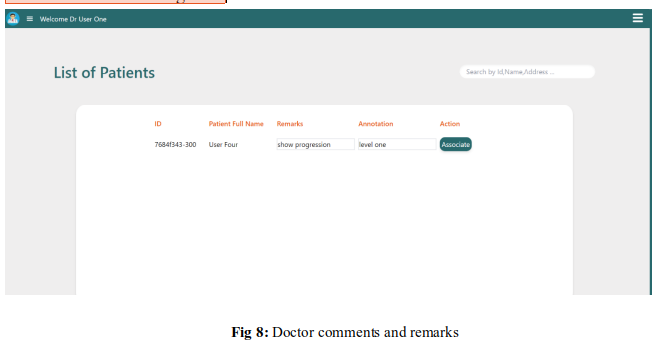
the ‘associate’ button, under the action heading, save the data, doctor’s comments, and doctor’s remarks with the patient.
Important Note:
We are currently developing the initial version of our system with a focus on improving and enhancing its features to provide easy access and usability for our users. Our primary goal is to continually enhance the system's functionality and user experience to meet the evolving needs of our users. Your feedback is of immense value to us as we continually strive to enhance our system. We genuinely appreciate your contribution and will actively utilize your feedback to drive improvements.